Google Drive is an essential tool for storing, organizing, and sharing files, and using it on an iPad can be incredibly convenient—if you know how to maximise its potential. I’ve been glued to my iPad ever since reviewing the iPad Air 6 and iPad 10, especially since pairing both with the Logitech Combo case – and this in itself multiplied my productivity tenfold.
Whether you’re accessing files on the go, collaborating with a team, or integrating Google Drive with the Files app on iPadOS, this guide will show you how to work efficiently using both the Google Drive app and the browser version.

Not sure if Google Drive is for you? Check out my comparison of Drive and Microsoft 365 first.
Google Drive App vs. Browser: Which One Should You Use?
Just like with other Google Workspace apps, you have two main ways to use Google Drive on iPad: through the dedicated app or via a browser. Each has its strengths, so let’s compare.
Pros of the Google Drive App
✅ Optimised for Touch – The app is designed for easy file navigation and quick actions.
✅ Offline Access – Mark files as available offline and work without an internet connection. Super useful for my trip to Japan last summer.
✅ Google Photos Integration – If you use Google Photos, it syncs seamlessly with Drive.
✅ Built-in Scanner – Scan and upload documents directly from your iPad camera.
✅ Better iPadOS Integration – Supports drag-and-drop, Split View (or Stage Manager), and Apple Pencil for annotations. I especially like this feature for marking up students’ work via Classroom.
Pros of the Browser Version
✅ More Features – Some desktop-only Drive features, like full file management options, work better in the browser. Failing to feature these basic aspects in the app is really frustrating. It’s 2025; we should be past these limitations by now.
✅ Advanced Sharing & Permissions – Set more detailed sharing controls compared to the app.
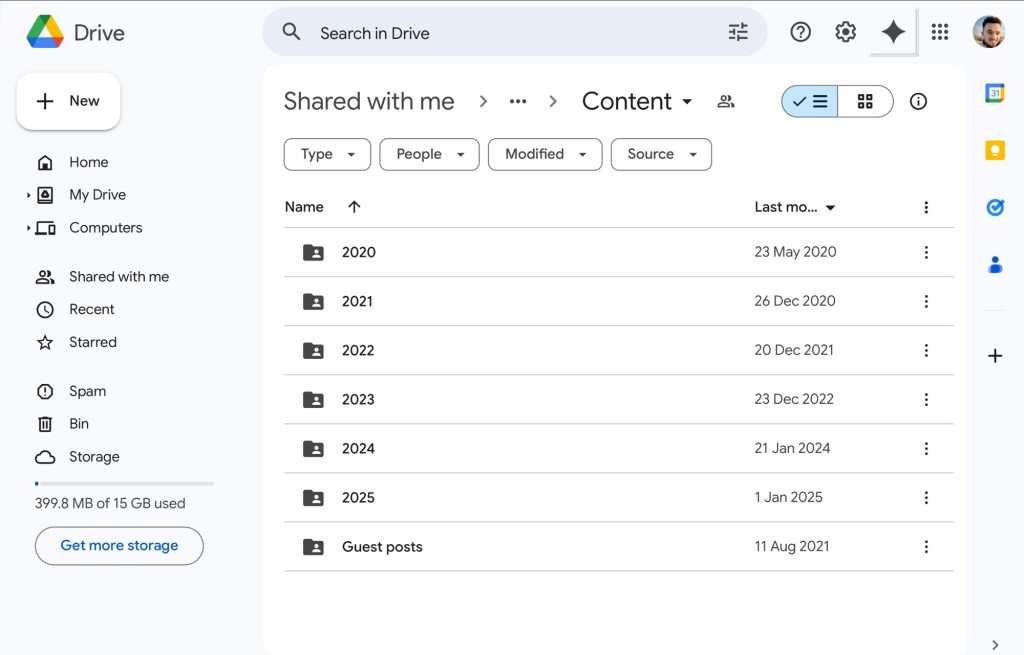
✅ Better Search & Organization – The browser version provides deeper search functions and sorting options.
✅ Multiple Account Switching – Easily switch between different Google Drive accounts without logging out. I find this really useful for using my personal and blogging account on the same tablet. It’s easily done on desktop, but a touch more finicky on iPadOS.

Optimising Your Google Drive Setup on iPadOS
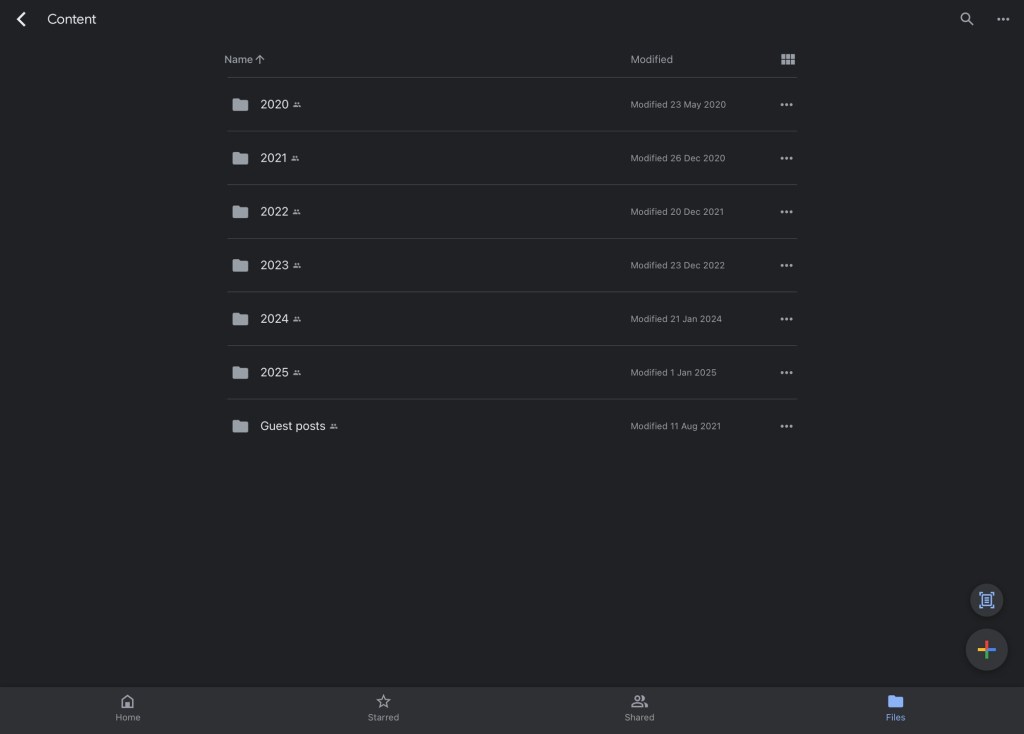
I’ve tried Drive in browser and through the app but keep coming back to their app for the simple reason that it’s more geared towards a touch interface. Plus, I like having the app ready on my hotbar for quick access. To get the best experience with Google Drive on your iPad, follow these setup tips:
- Keep the App Updated – Ensure you’re running the latest version for new features and bug fixes. Hopefully that part’s pretty obvious.
- Enable Offline Mode – Make frequently accessed files available offline.
- Customise Notifications – Adjust settings to get alerts only for important file changes.
- Use an External Keyboard – This makes managing and renaming files much faster. Check out how to choose the keyboard that’s right for you here.
Google Drive & Files App Integration on iPadOS
One of the biggest advantages of using Google Drive on iPad is its integration with the Files app. This allows you to manage Drive files just like local storage, with the biggest pro being that you can drag and drop files. For some reason, this is a lot harder on their native app, and impossible via browser. The only drawback? You can’t create new files within the Files app if you have the likes of Docs and Sheets installed, which means switching between the two pretty frequently.
How to Link Google Drive to the Files App:
1. Open the Files app on your iPad.
2. Tap the three dots in the top-right corner and select Edit.
3. Toggle Google Drive on to enable it as a location.
4. Now, you can access, move, and organise your Drive files directly in the Files app.
Boosting Productivity with Google Drive on iPad
Want to speed up your workflow with my productivity routine? Try these tips:
- Use Google Drive Widgets – Add Drive widgets to your iPad’s home screen for quick access to recent files.
- Set Up Google Drive Shortcuts in Apple Shortcuts – Automate actions like uploading screenshots to a specific Drive folder.
- Scan Documents Directly to Drive – Use the app’s built-in scanner to digitise receipts, notes, or documents. Very useful for collating receipts that you might need to expense (imagine if teachers could expense things!).
- Enable File Previews – Quickly preview PDFs, images, and Office files without opening them. Every second counts.
Google Drive on iPadOS is more than just cloud storage—it’s a powerful productivity tool when used correctly. Whether you prefer the Google Drive app for quick access and offline work or the browser version for advanced file management, knowing when to use each version can make all the difference. If you’re sticking with the browser version, make sure you’re enabled ‘request desktop site’, or it’ll practically be unusable.
Personally, I like integrating Google Drive with the Files app because it transforms your iPad into a full-fledged file management system. Try these tips and let me know—are you team Drive app or browser version?
While you’re here, why not read…
- Reclaim your evenings: A Busy Teacher’s Guide to Healthy Meal prep
- 16 incredible books to read in 2026
- How to actually achieve your goals in 2026: The Anti-Resolution toolkit
- The First 90 Days: How to survive (and thrive) as a new Head of History
- 7 Brutal Questions to Course-Correct your Life before 2026
Follow my socials!
